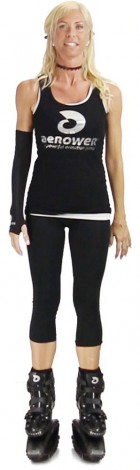
Start jumping with the most versatile and safe jumpers on the market.
Jumpers are an athletic shoe whose main advantage is that you can exercise without the impact being transmitted to your joints. They offer a very different and stimulating experience that will fill you with energy and motivation. Because fun is guaranteed when you wear them. Contrary to what it may seem at first glance, they offer almost the same stability as a conventional running shoe and are virtually impossible to injure. On the contrary, you protect your body from fatigue and wear and tear.
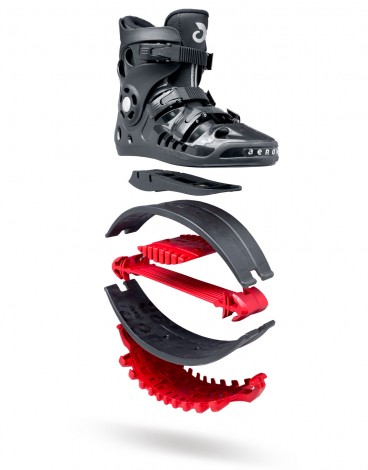
The Aerower Jumper1 is the safest and most adaptable for everyone, take advantage of it! Each piece has been developed according to its function and to offer a sophisticated aesthetic. In addition, they are tested one by one under strict and exclusive quality control. In this way, the Aerower Quality™ seal has become the most reliable in the industry. Get to know in detail all the exclusive technologies and systems >> that make the Jumper1 unique.
On this page you will find all the essential recommendations to get the most out of your Jumper1 and start making your first jumps with them.
Customise your Jumper1
Start jumping
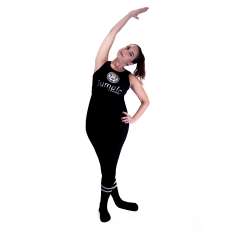
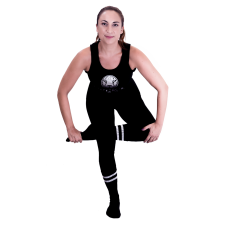
Stretching
Running with jumpers
Options for practising Jumple workouts
Customise your Jumper1 before you use it for the first time
 Check the Table of sizes and customised resistances.
 See the table for your Jumper1 size. If you are in doubt, you can download the sheet that allows you to compare your foot size with the Jumper1 sizes.
Check now which hardness of arches you need. We advise you to also take your physical condition into account when looking up your weight in the table:
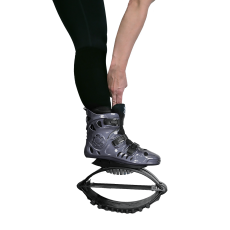
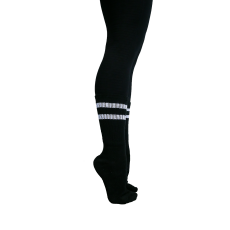
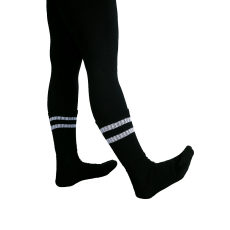
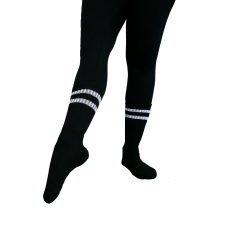
Adapt the multi-band. With the help of cutting pliers, remove the number of strips indicated in the table. The rebound system should fold at least halfway on most of your jumps. And it is always recommended that it tends to be soft rather than too hard, for biomechanical reasons and to extend the life of your jumpers.
Choose the colour you like best. Getting the ideal Jumper1 for each person is also a question of aesthetics. Choose the Jumper1 that best represents you, take advantage of the 8 available colours and more than 500 possible combinations.
There is also the option to receive your Aerower Jumper1 ready to jump! The official Aerower dealers and the online shop offer the possibility to provide your details and receive your personalised jumpers.
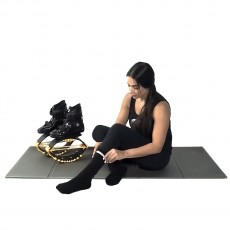
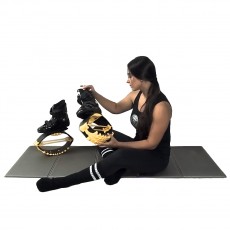
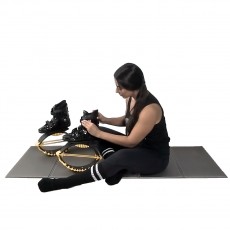
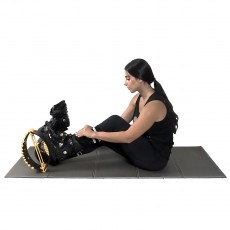
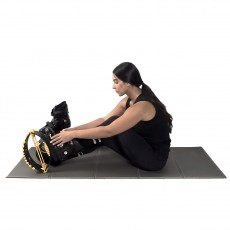
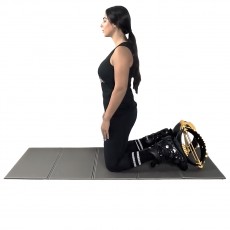
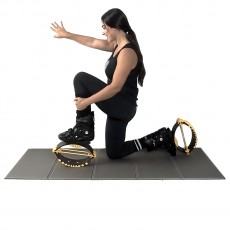
Start jumping with jumpers
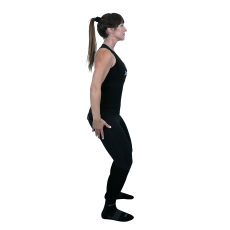
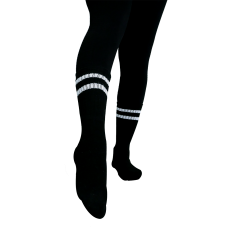
The correct positioning and adjustment of the Jumper1, or how to stand up properly, are fundamental steps to start having a satisfactory experience. These are the steps you should follow:
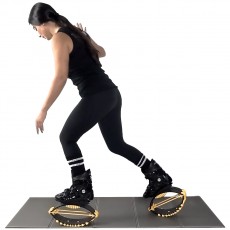
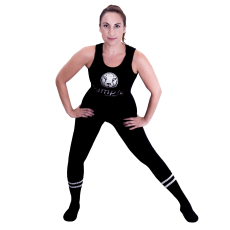
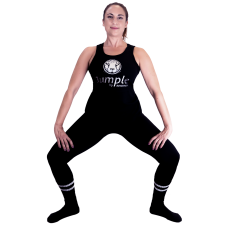
There are two fundamental aspects that you must be aware of the first time you use the Jumper1: the movements and the posture. By taking care of these two aspects, you will achieve all the benefits of exercising with jumpers right from the start. We explain them below:
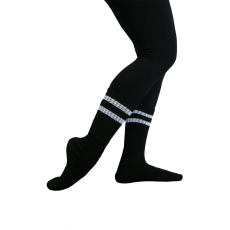
Basics for exercising with jumpers
Keep these points in mind whenever you use your Jumper1:
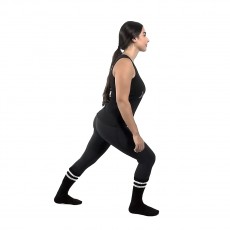
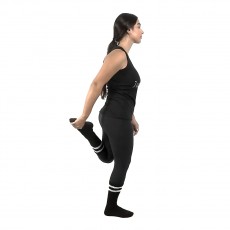
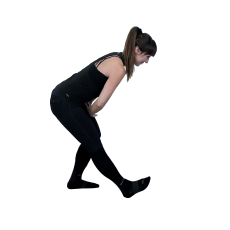
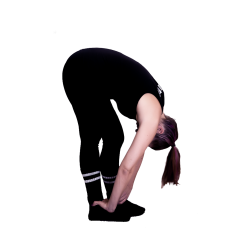
Stretches
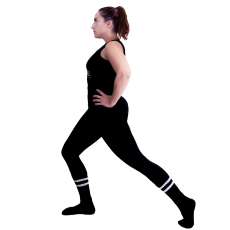
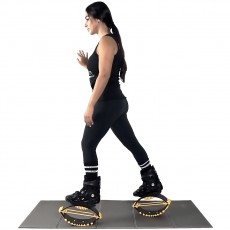
Running with jumpers
Download the guide on how to run with Jumper1>>
Options for practising Jumple
Access to recorded Jumple classes>>
